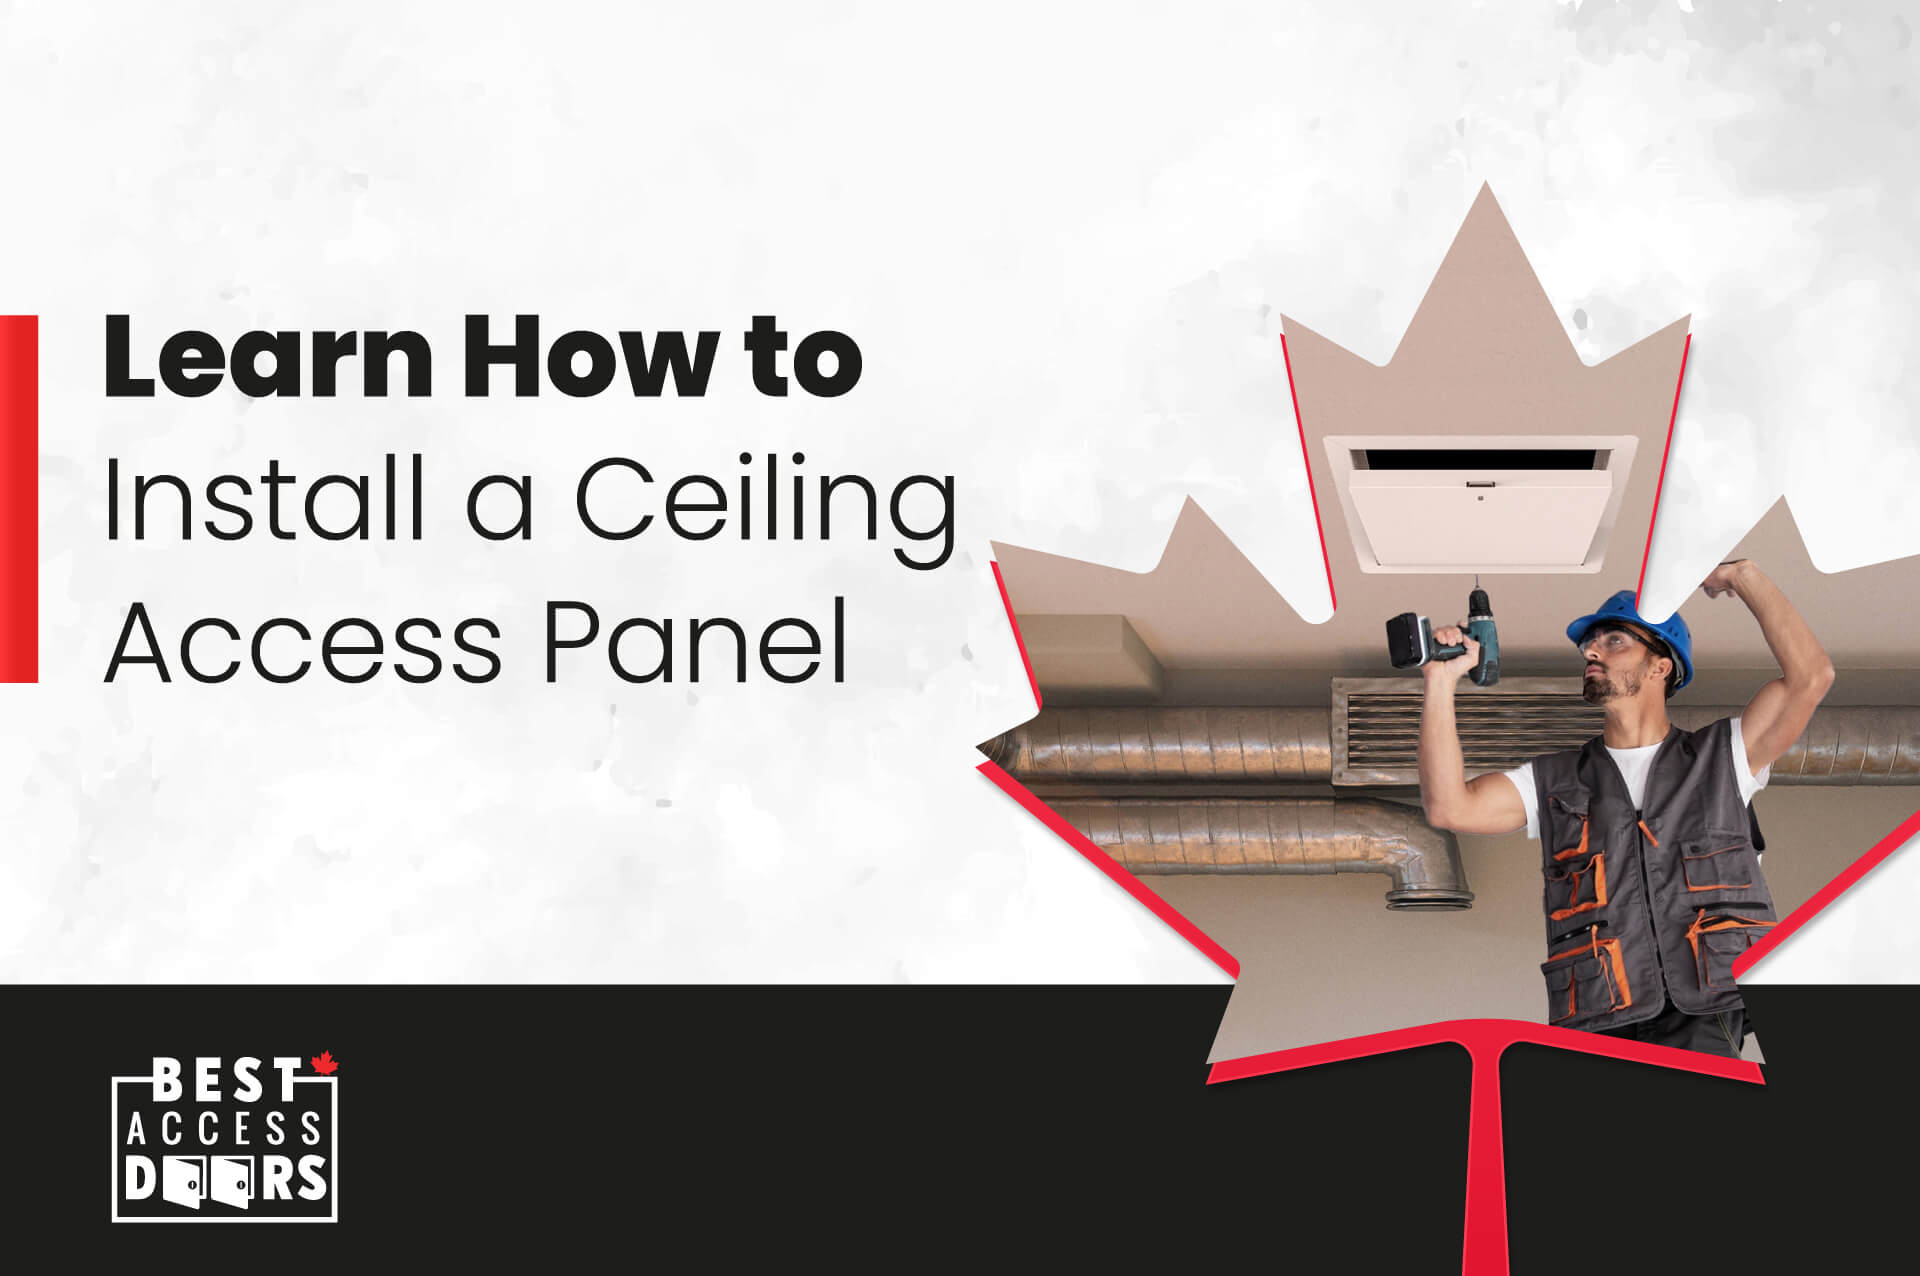
Learn How to Install a Ceiling Access Panel Posted by Best Access Doors - Canada on 29th Nov 2023
As a construction professional, you understand that every detail matters when completing a project successfully. One often overlooked detail that can make a significant difference is the installation of ceiling access panels. These panels provide easy access to critical building components and ensure a seamless finish. In this article, we'll guide you through installing a BAC-F1 Drywall Inlay Access Panel with Fixed Hinges—a game-changer in the construction world.
Types of Access Panels
Before we dive into the installation process, let's explore the different types of access panels available. You have two primary options: surface and flush panels. Surface panels protrude slightly from the ceiling, making them easier to install but less aesthetically pleasing. Flush panels, on the other hand, offer a seamless fit, blending seamlessly with your interior. The choice between the two depends on your project's requirements.
Why Choose the BAC-F1?
The BAC-F1 Drywall Inlay Access Panel stands out for several reasons:
Solid Aluminum Construction: This access panel boasts a welded aluminum frame built to last. It's designed for durability and withstands corrosion, ensuring it can withstand the demands of your construction project.
Flush Installation: The concealed touch latches of the BAC-F1 provide a flush installation, creating a seamless look when closed. This not only enhances the aesthetics of your interior but also ensures a secure fit. There are many lock options you can choose from depending on your requirements.
Innovative Design: Featuring a single door, the BAC-F1 creates a sizeable clear-span opening. It's designed with your convenience in mind.
Enhanced Security: BAC-F1's non-removable pin hinge improves security by preventing unauthorized access or tampering with the hinge mechanism. It ensures that the panel remains securely in place, contributing to the overall durability and reliability of the access panel.
Installation Guide: Step by Step
Watch our video for a visual on installing a BAC-F1 access door in a ceiling!
Now, let's walk through the installation process step by step:
- Safety First: Safety should always be the top priority. Ensure that you're working on a stable and secure surface. Use proper safety equipment, including gloves, safety goggles, and, if necessary, a hard hat.
- Check for Obstructions: Before cutting into the ceiling, carefully inspect the area to ensure there are no electrical wires, plumbing, or structural components that could be damaged during the installation.
- Proper Measurements: Take precise measurements for the BAC-F1 access panel's location and size. Double-check your measurements to avoid errors.
- Tools and Materials: Gather all the necessary tools and materials before installing, including the access panel itself, a pencil, a stud finder, a handsaw, a drill, screws, construction adhesive/glue, and any additional support materials.
- Cutting the Hole: When cutting the hole in the ceiling, follow the manufacturer's guidelines for the specific BAC-F1 access panel you're installing. Take your time to make clean and accurate cuts.
- Support Frame: If required, build a wooden support frame around the opening to provide a sturdy base for attaching the BAC-F1 access panel. Ensure the frame is level and securely anchored to the ceiling joists.
- Fitting the Panel: Test-fit the BAC-F1 access panel into the opening to ensure it fits snugly. Make any necessary adjustments to achieve a proper fit.
- Securing the Panel: Attach the BAC-F1 access panel securely to the support frame or ceiling joists using the provided screws. Follow the manufacturer's instructions for the recommended installation method.
- Finishing Touches: After the access panel is in place, touch up the surrounding area to ensure a clean and professional appearance by patching, sanding, and painting to match the ceiling.
- Documentation: Keep the manufacturer's installation instructions and any relevant documentation for future reference and when you need to adjust or perform maintenance later.
- Regular Maintenance: Periodically inspect the BAC-F1 access panel to ensure it remains secure and functions as intended. If you ever notice any issues or damage, address them promptly.
(If you still need clarification, check the installation guide for diagrams.)
Installation Is Complete!
Congratulations, you've successfully installed a BAC-F1 Drywall Inlay Access Panel. This addition to your construction project provides easy access to critical building components and enhances the overall appearance of the space.
Explore More with Best Access Doors
For more information on access panels and to explore other high-quality construction products, visit Best Access Doors. If you have specific project requirements, don't hesitate to request a custom quote—you'll receive it within 30 minutes.
Ceiling access panels are a valuable addition to any construction project. They offer easy access to storage space and essential building components like HVAC systems, wiring, and plumbing. Plus, with a coat of paint to match your interior, they seamlessly blend in, ensuring functionality and aesthetics.
Make your work more accessible, efficient, and visually pleasing with the BAC-F1 Drywall Inlay Access Panel from Best Access Doors.


